Instructions for Android
Step 1: On your Android device, locate and open the Settings app from your home screen or app drawer.
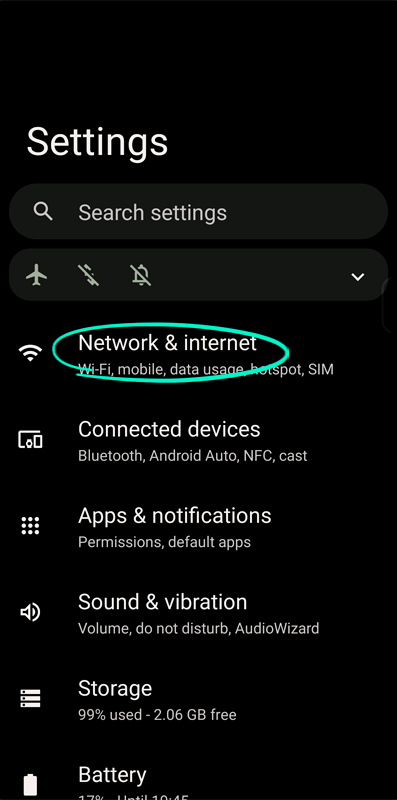
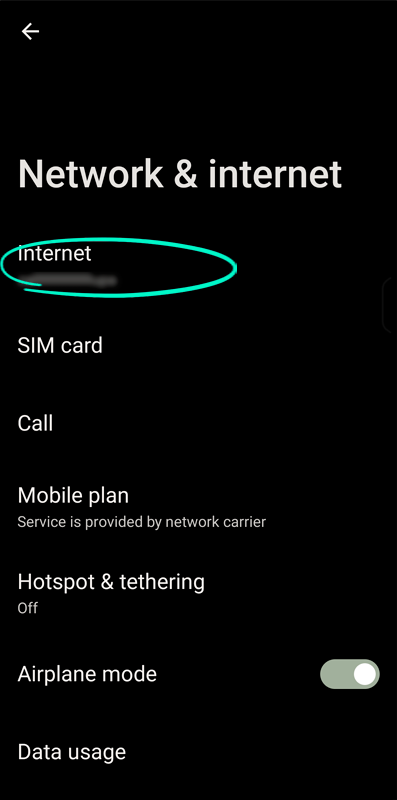
Step 2: Find the Wi-Fi option and tap on it to see the list of available networks.
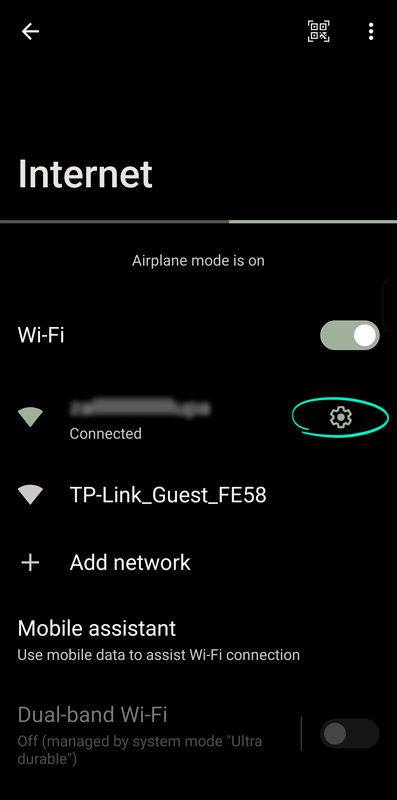
Step 3: Tap on the network you're currently connected to or the one you want to configure.
Step 4: After selecting the network, tap on Advanced or Modify network (depending on your Android version).
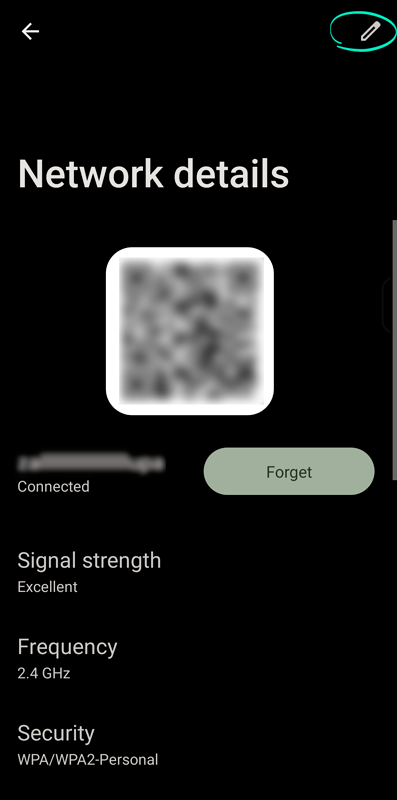
Step 5:
Scroll down and find IP settings. Change it from DHCP to Static.
Scroll down to DNS 1 and DNS 2, and enter the DNS server addresses you want
to use (for example, Google's DNS: 8.8.8.8 and 8.8.4.4).
Also, to ensure the functioning of ICANN websites or conventional Web2 websites,
you should also add DNS 134.195.4.2 to your configuration.
After entering the DNS addresses, tap Save to apply the new settings.
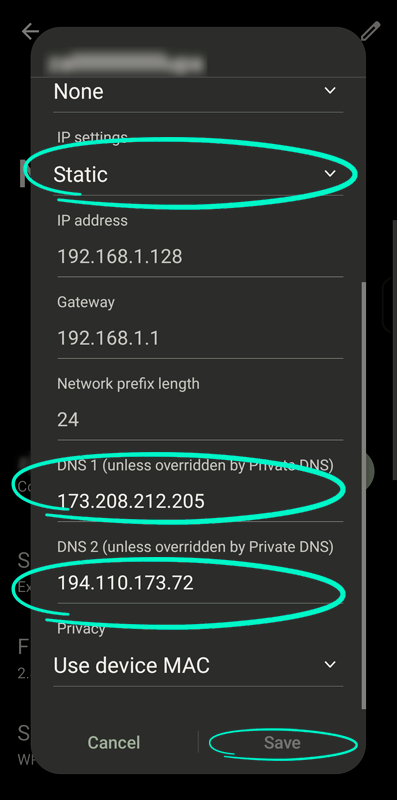
Step 6:
Importing SSL certificates to the mobile application for the possibility of using the https protocol:
To carry out this process, please follow the instructions provided below, which are hosted on the official website
How to import SSL certificate on mobile application.
This guide contains detailed instructions for successfully completing the SSL certificate import process.
Download the certificates using the links below:
SSL certificate 1
SSL certificate 2
