Instructions for iOS
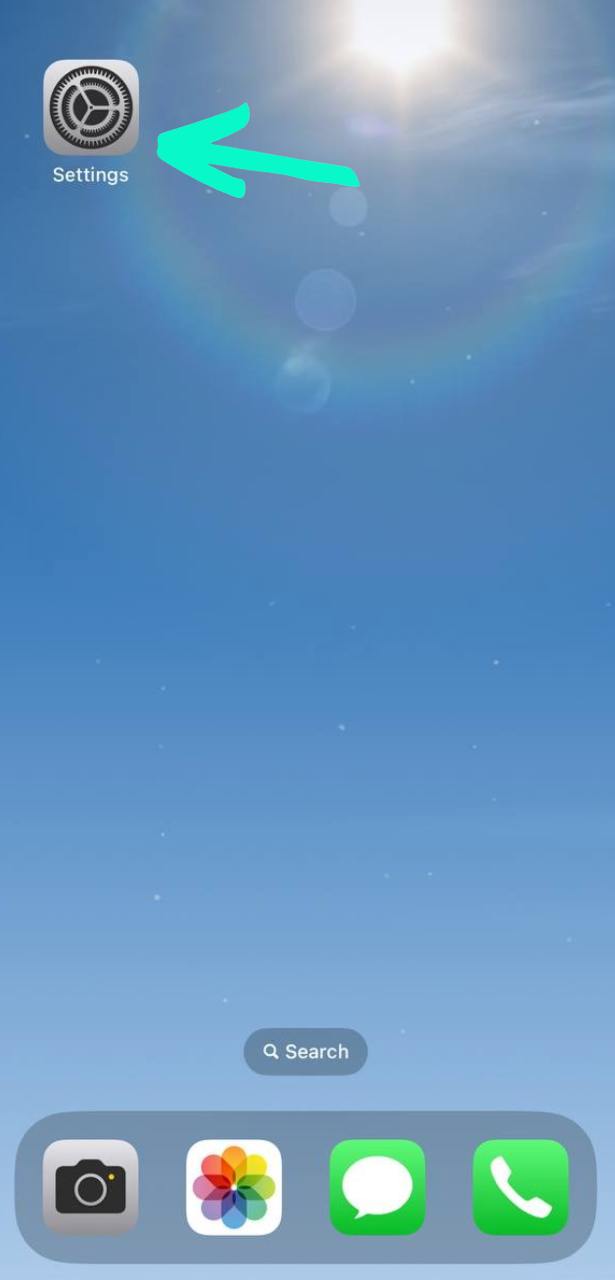
Step 1: On your device's home screen, locate and open the Settings app.
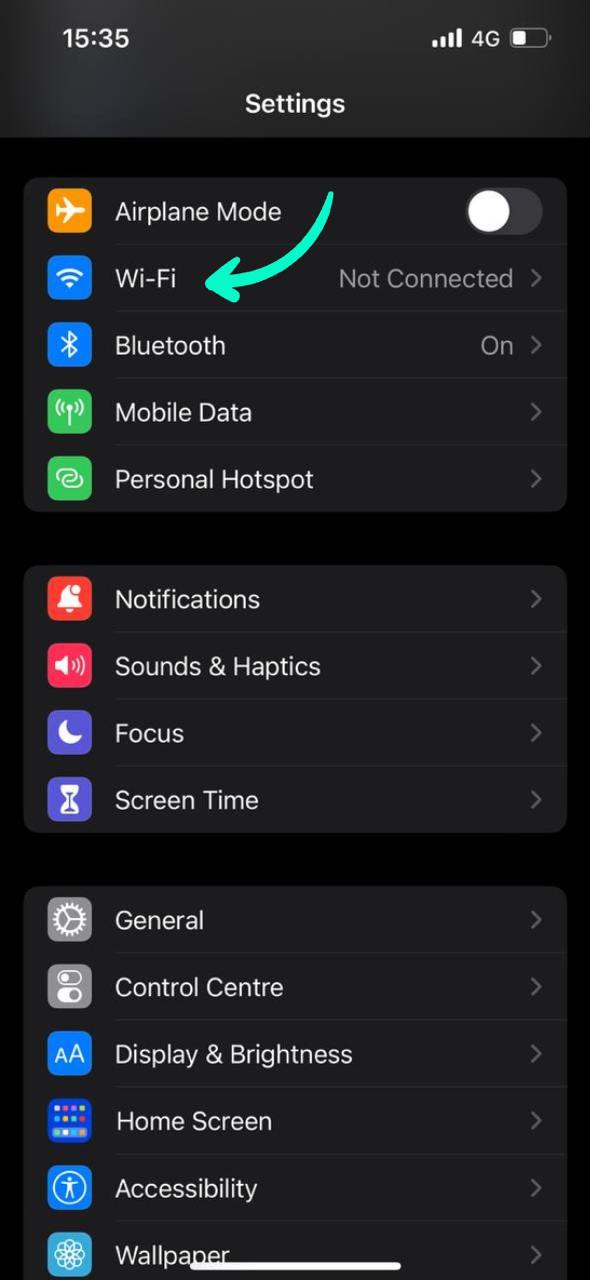
Step 2: In Settings, scroll down and select Wi-Fi.
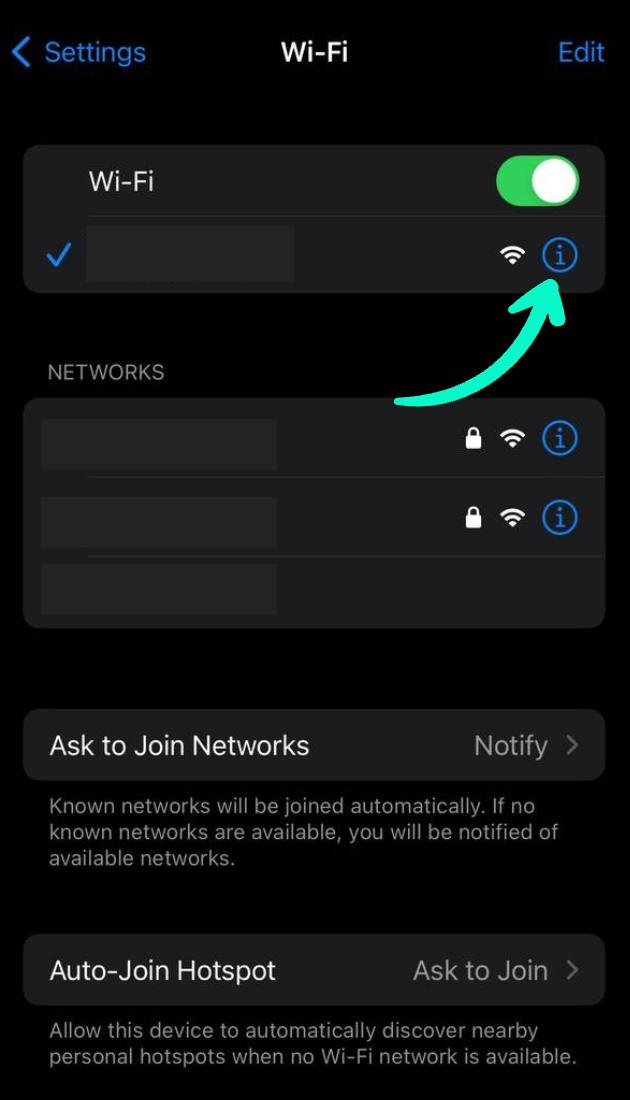
Step 3: Find the network you're connected to and tap the i button (information icon) next to the network's name.
Step 4: In the network information, scroll down and find Configure DNS. Tap on it.
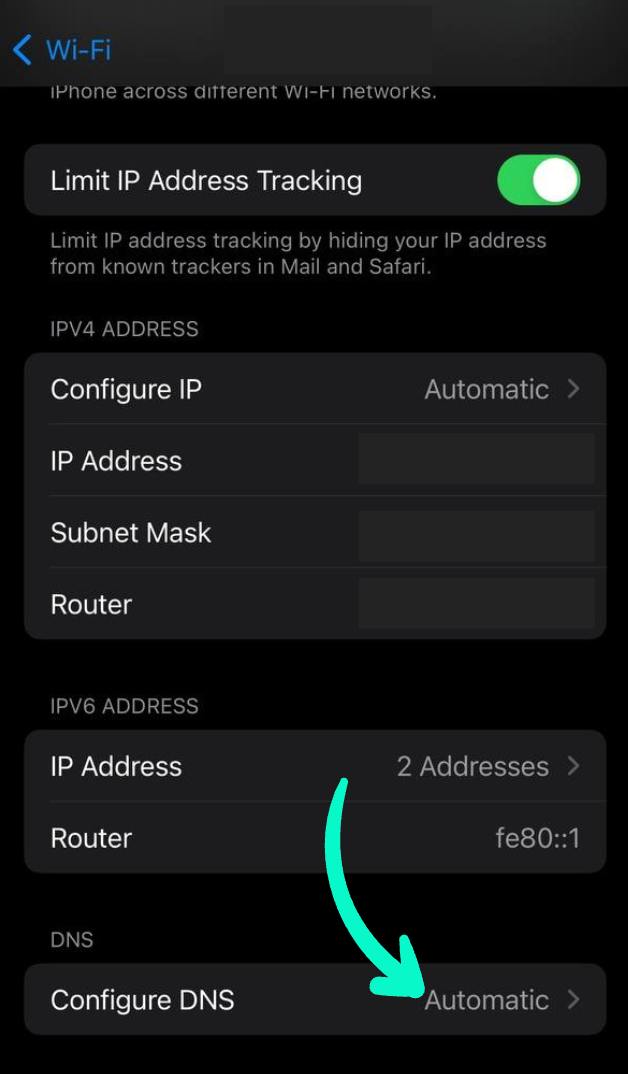
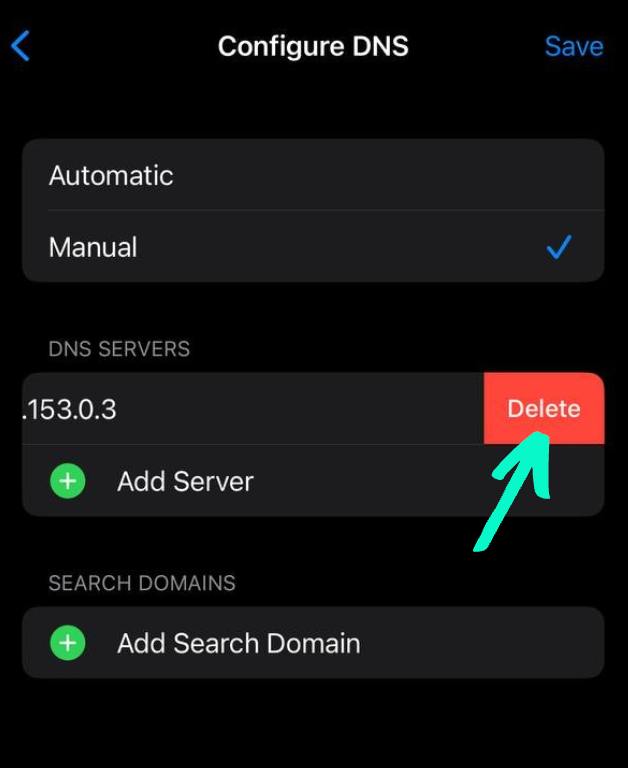
Step 5: Change the DNS option from Automatic to Manual. If there are already DNS servers listed, remove them by tapping the red minus button next to each server address.
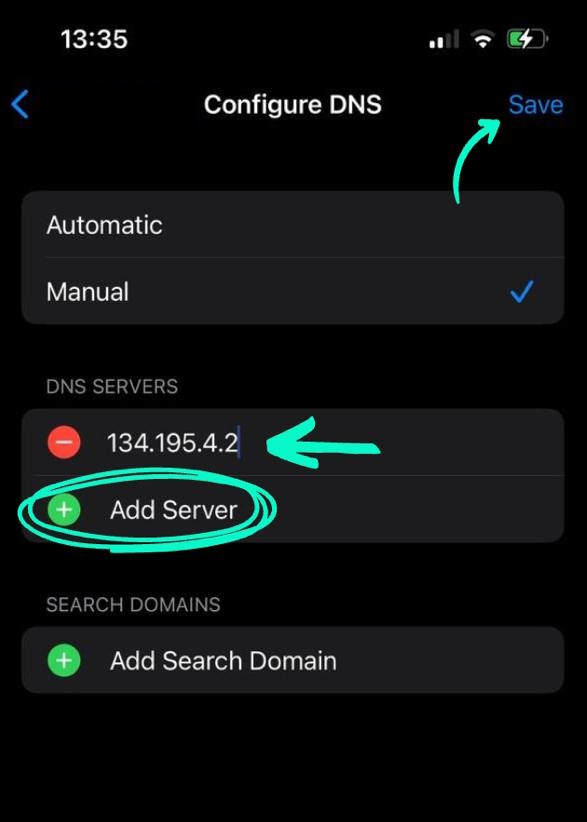
Step 6: Tap Add Server and enter the new DNS addresses. After entering the DNS server addresses, tap Save in the top-right corner of the screen. Also, to ensure the functioning of ICANN websites or conventional Web2 websites, you should also add DNS 134.195.4.2 to your configuration.
Your DNS settings are now changed. Your device will use the new DNS servers when connected to the Wi-Fi network.